When your company or your workplace doesn't have a restaurant for lunch, it's pretty common nowadays to get food delivery at work. Because we are in a hurry, because we don't want to bring food from home, because we are lazy, or because it's convenient, there are plenty of reasons why this commercial activity is becoming more popular.
It's not rare to find clients asking you to build a food delivery website and your first choice will probably to take a look at WordPress templates to find one that fits your need.
But this task has become quite easier on Drupal with Commerce Funds module.
So, why commerce funds?
Because one of the major issue when delivering food at work is to deal with cash transactions. Most of your clients will request you to find a proper solution with an online payment gateway integration. When most of them will allow you to bill the customer from dish to dish, commerce funds will allow you to create a virtual bank account for each of them.
Each customer will be able to deposit funds in their account and then use these credits to pay their meal. This way you also build up your customer loyalty.
Starting with Commerce and Commerce Funds
The fastest way to get a complete installation of Drupal Commerce and Drupal Commerce Funds is to install Commerce Funds.
composer require drupal/commerce_fundsThis will download both modules and all their dependencies. You can then manually enable Commerce Funds which will automatically enable all the necessary modules for you. Or, you can use drush as follows:
drush en commerce_fundsConfiguring a store
What we will first do is creating a custom currency so customer accounts won't hold any official currency but a "virtual" one.
In /admin/commerce/config/currencies add a new custom currency. Let's call it "token".
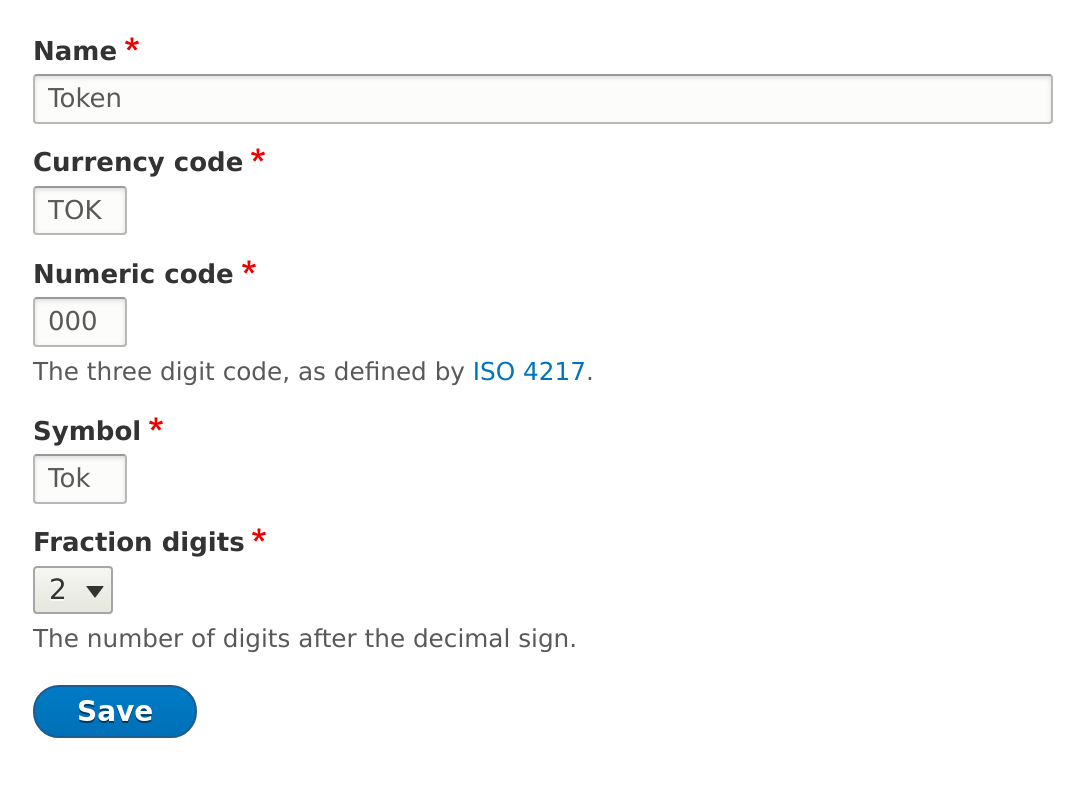
Now configure a store with the seller details and select the "token" currency as the default one.
Add a new payment gateway using the plugin "Funds Balance" and restrict it to the store product (you shouldn't allow customers to use this payment gateway for their deposit).
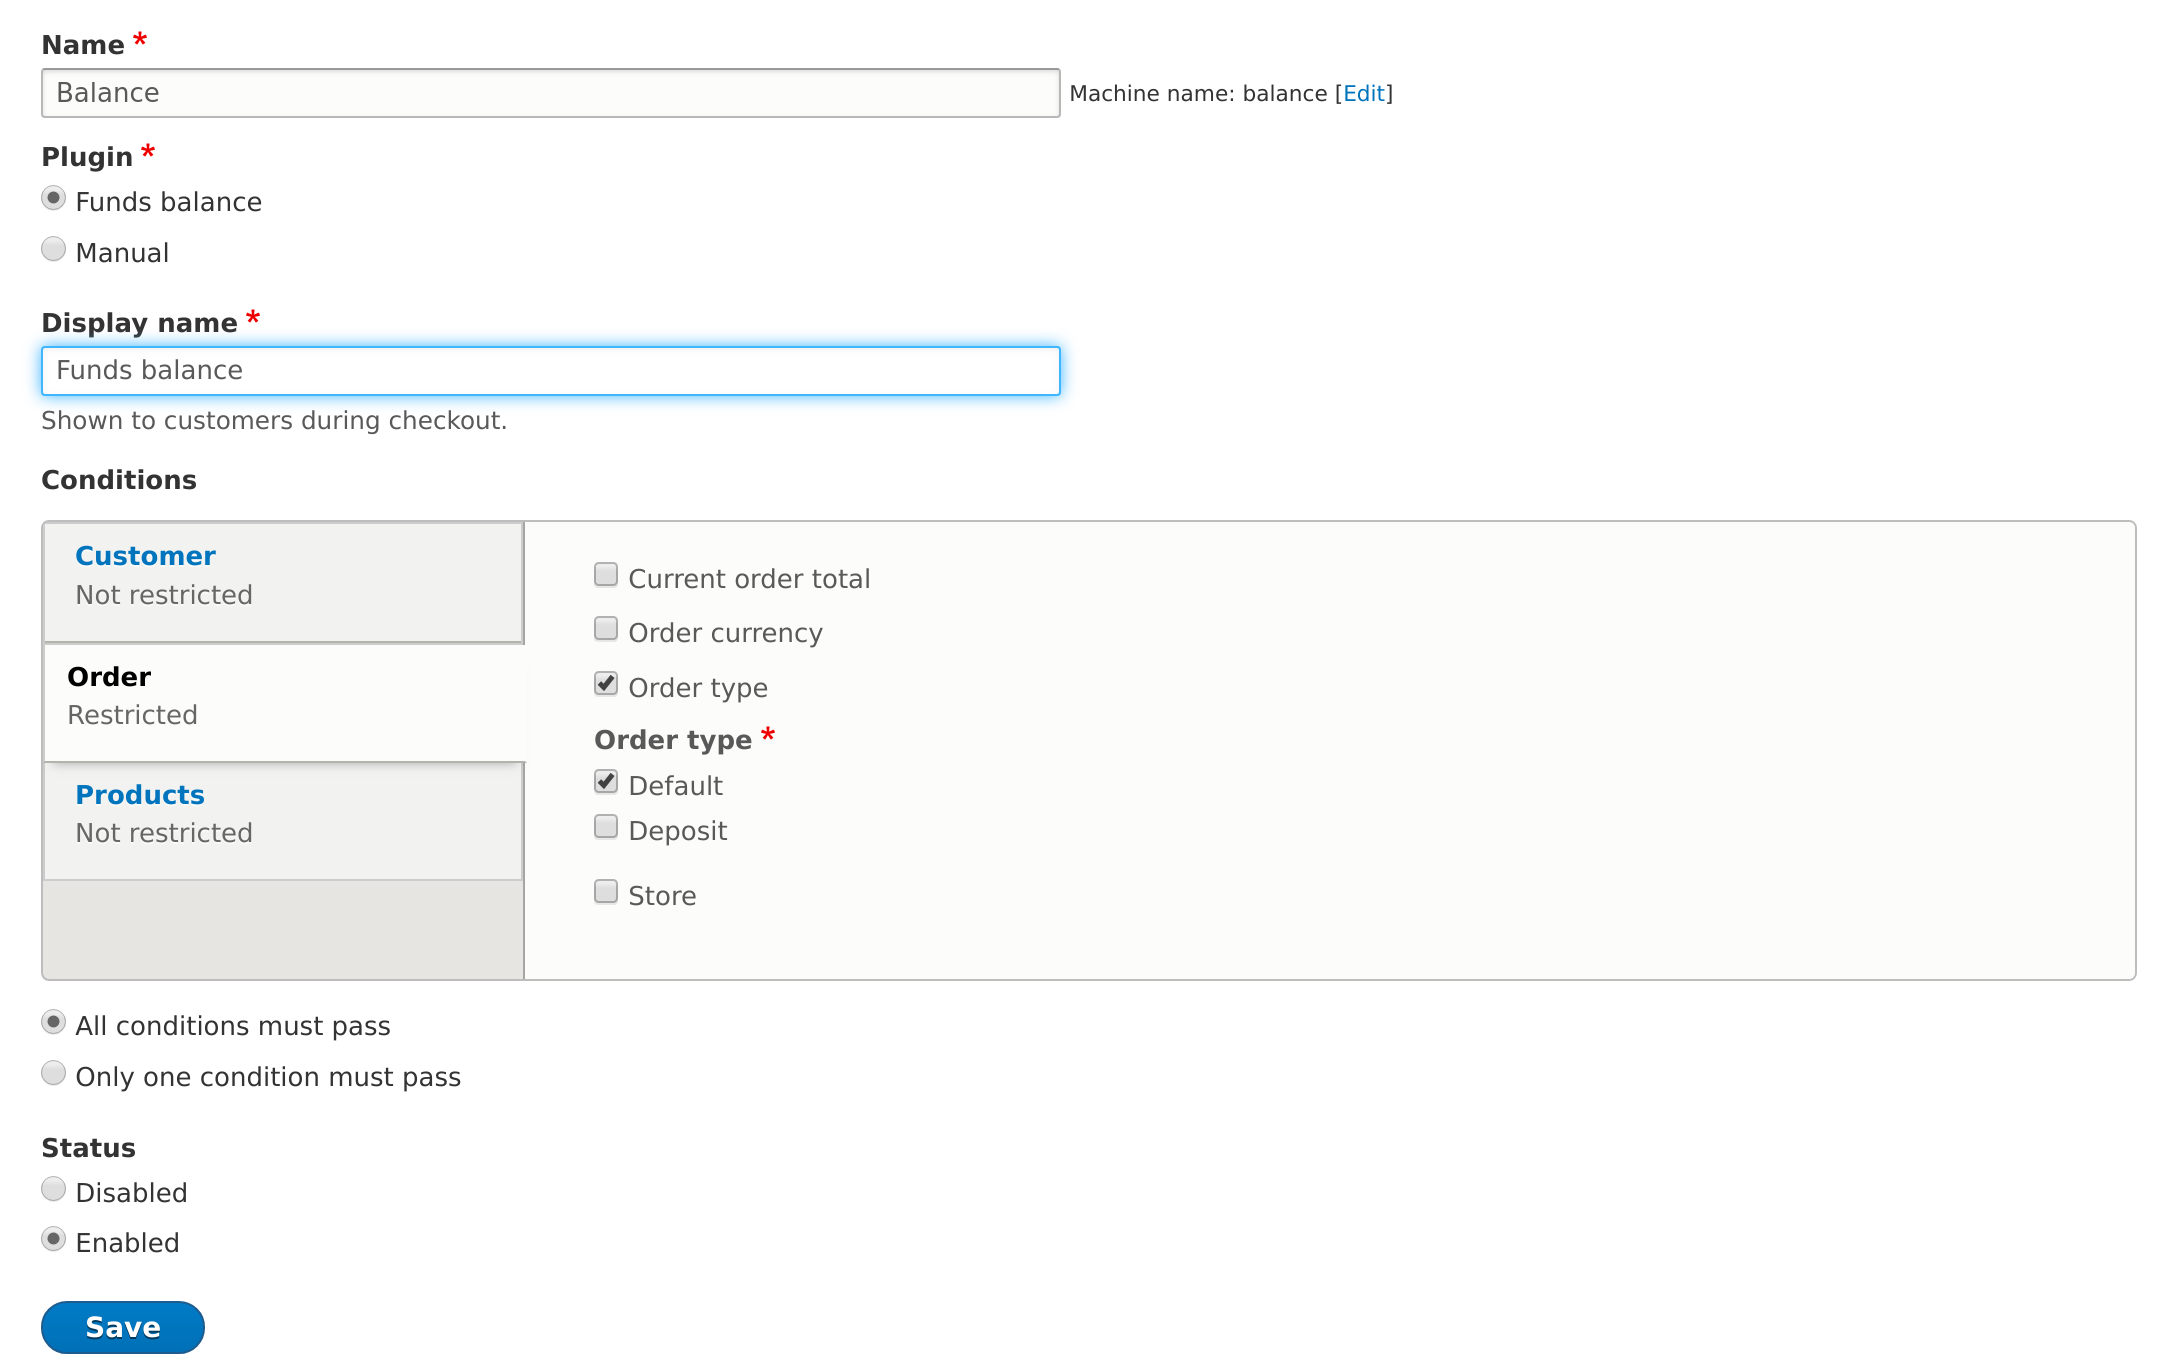
You'll also have to enable another payment gateway and another "real" currency (like USD) for the customers to deposit money in their account. I'm gonna use "manual" here because it's more convenient for the purpose of this tutorial, but you can set up PayPal, Stripe, Skrill or whatever.
Funds configuration
In order to configure Commerce Funds, we will need to do the following:
- enable the user balance block so customers can see how many tokens they have left,
- enable the site balance block so your client can keep track of its incomes,
- give permission to authenticated users to deposit money in their accounts.
When it's done, we'll need to create a Rule to handle the conversion from the official currency to our virtual one.
Converting the deposits into tokens
If you are not used to Rules, yet I highly recommend that you check my tutorial about it, as I'm not going to go really into details here. Here is what we should get at the end.
What we want to achieve here are two operations:
- The user deposit money into his account in USD for example
- As soon as this money is deposited into its account, it gets converted into our virtual money "tokens" (TOK).
So after an entity commerce_funds_transaction is created, our condition is as below:
Entity = data_selector : commerce_funds_transaction
Type = value : commerce_funds_transaction
Bundle = value : deposit
Then we create our new transaction of type "conversion":
Transaction type = value : conversion
Issuer = data_selector : commerce_funds_transaction.issuer.traget_id
Recipient = data_selector : commerce_funds_transaction.issuer.target_id
Payment method = value : internal
Brut amount = data_selector : commerce_funds_transaction.net_amout.value
Net amount = value : Empty, we want commerce funds to calculate it for us.
Fee = value : Empty, you can set fees in the configuration on the module though or a fix fee here.
Currency = value : TOK, this is the currency code we have set when defining our virtual currency
Status = value : Completed
Hash = valuer : Empty, there is no need of hash here, but you can use the UUID of the entity.
Then we need to fill up the "from_currency" field of commerce_funds_transaction entity to tell the module from which currency we want to convert our deposit into tokens.
Set a data value:
Data = data_selector : entity.from_currency
Value = data_selector : commerce_funds_transaction.currency.target_id
From here, you'll just have to save and perform the transaction (two mandatory and required steps) to get it working. I send you back to the Rules tutorial if you need more details.
Create your first product
If you are not used to Drupal Commerce you'll probably have to put your hands in the work here, but basically, for a delivery platform, you need a quite simple setup. You'll need a product type with an image and a description. You can, for example, edit the default product type and add an image field to it or create a new product type.
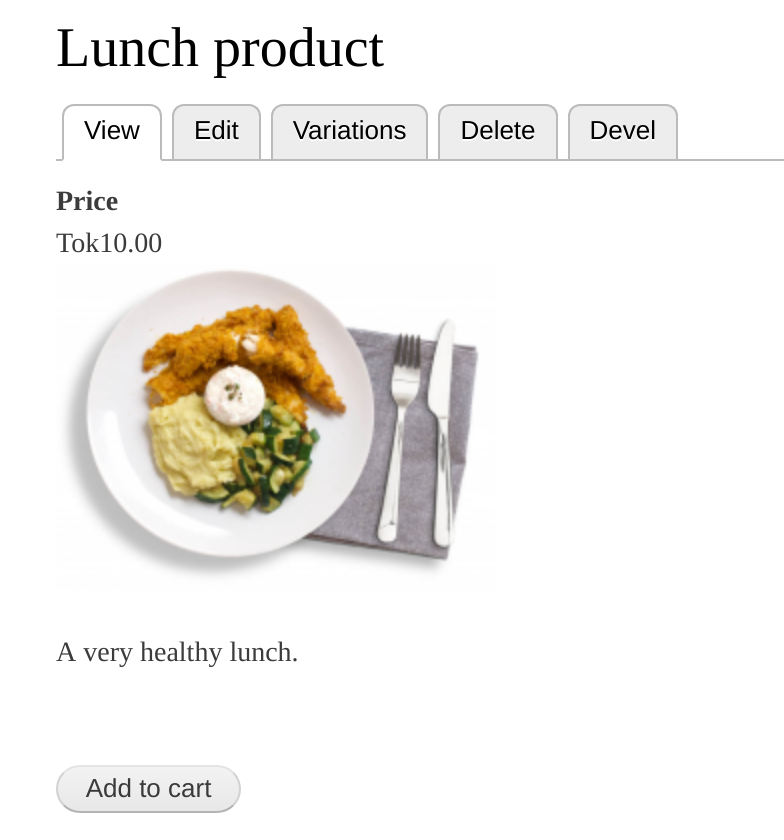
Then simply add a new product, give it a name and add a new variation with the price in tokens.
The customer workflow
It's now time to see the other side of the website. How does it work when you are a customer? Here is what a customer will see with the configuration we have made.

That's quite simple, your customer will firstly make a deposit.
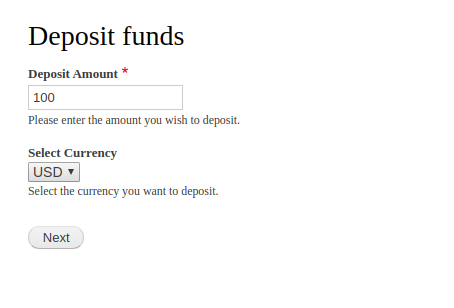
Because of our Rule, their dollars will be converted into tokens without even noticing it.

It's now time for your customer to buy a healthy lunch! They will just add it to their cart and then go through the checkout process where they'll be asked to create a virtual wallet for Tokens. After that, they'll be able to pay their lunch in tokens!
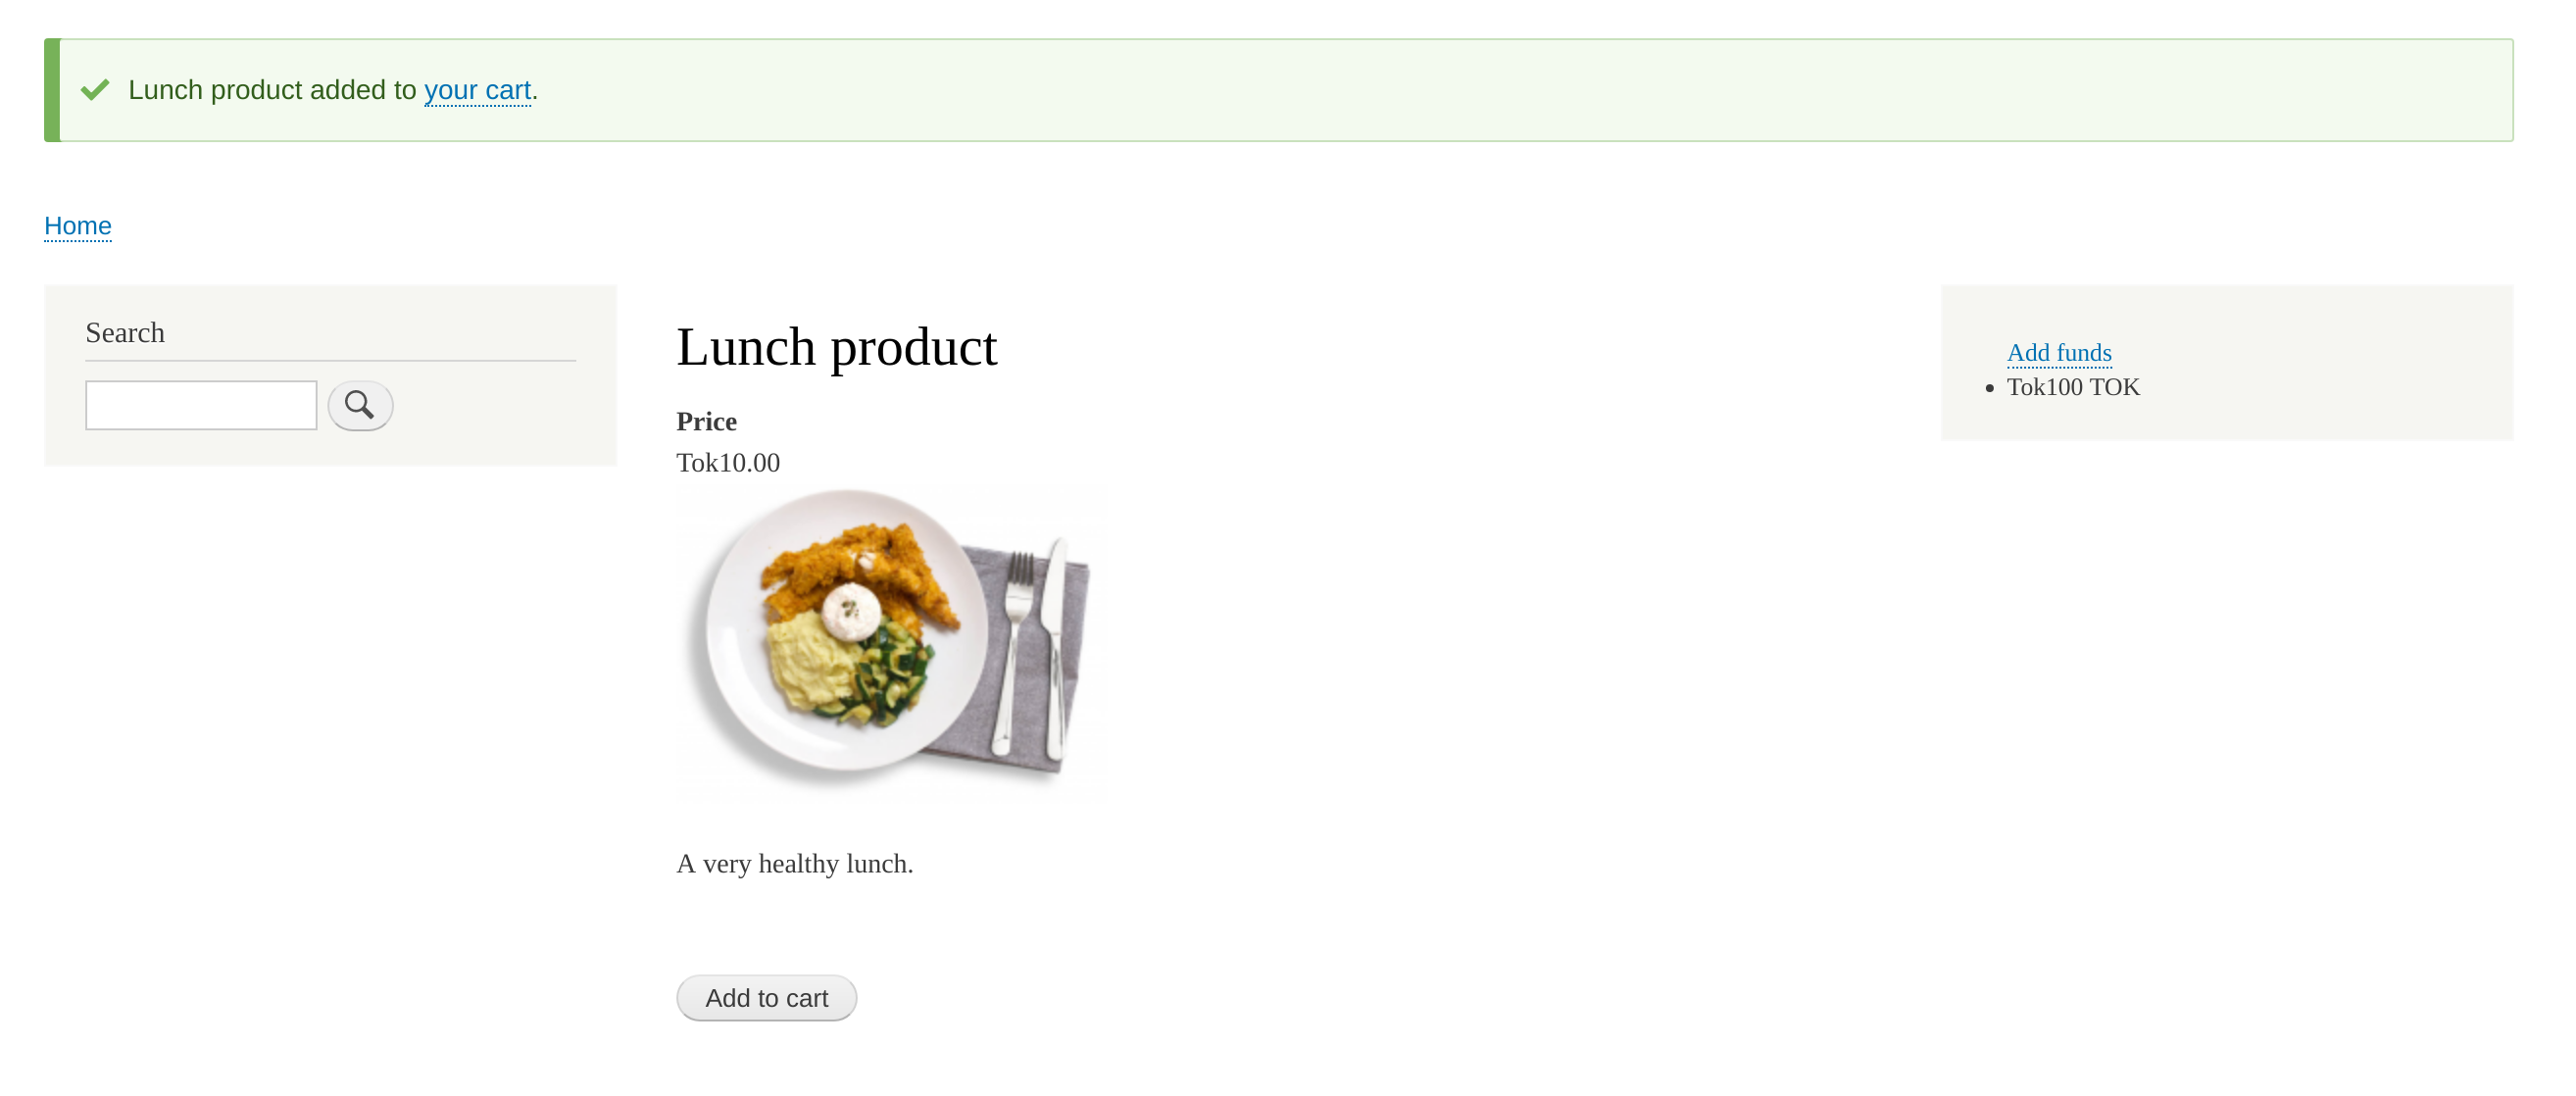

That's it, we've just created what can be the base of a food delivery platform and the Drupal Commerce and Commerce Funds module can actually do a lot more when combined altogether!
So, easy?
